
The whole panel is organised around three areas: the banner for your server at the top, the tabs just below, and the account menu in the site header. Once these three reference points are in place, no page can lose you.
The banner, the server status at a glance
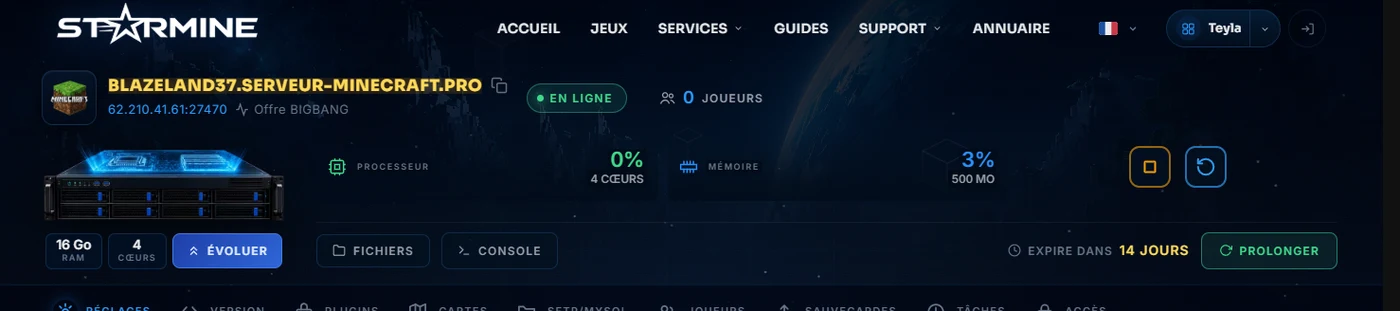
The banner follows your server on every page: its address, click it to copy it, its status, connected players, the processor and memory gauges in real time, and the start, stop and restart buttons. On the left, the machine shows your plan, on the right, the expiry date and the button to extend it. The shortcuts Files and Console are always within reach: if you are unsure what the server is doing, the console is always the first thing to check.
The tabs, one page per topic

Settings, Version, Plugins, Maps, SFTP/MySQL, Players, Backups, Tasks, Access: each tab opens a dedicated page, and each page in this guide series details one of them. The active tab is underlined, the content area below changes, the banner stays.
The account menu
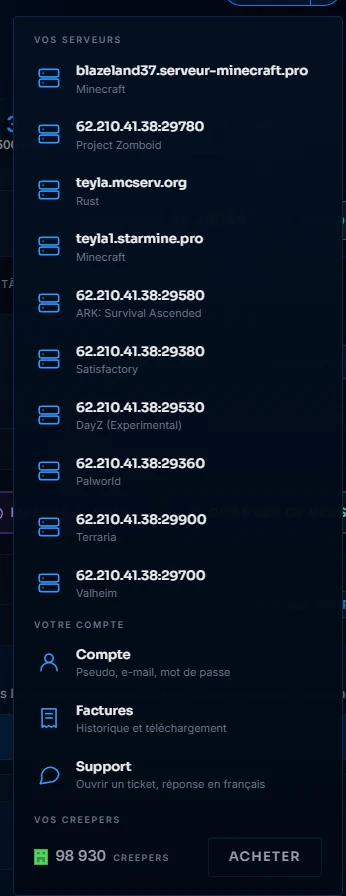
At the top right, your username opens the list of your servers: this is where you switch from one to another when you have several. The same menu gives access to your account, your invoices, your creepers and logging out. Clicking your username always takes you back to the panel of your first server.
The rest of the series goes through each tab in the order you will come across them. And at any time, the Guided tour button on the panel pages replays the demo live, area by area.